[Part 4] Setting Up Blogger with .co.cc domain: Ultimate Setup, Resolve with non-www and www versions of your domain name
Part 4:
In Part 1 you got a free .co.cc domain
In Part 2 you got a free Hipatic Hosting
In Part 3 you got the A name of your free hosting
Now if you remember in Part 1 we had setup your .co.cc doamin's DNS and pointed it to ns1.everydns.net, ns2.everydns.net, ns3.everydns.net & ns4.everydns.net.
In Part 4 we will setup your dns at everydns.net to respond to that.
Now goto http://everydns.net
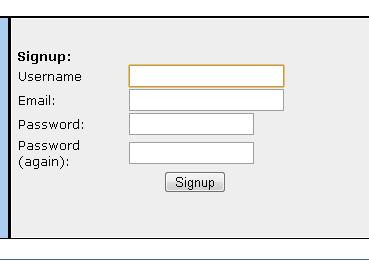
If you are a new user, sign up!
Fill in the form with a proper email id. Press Sign Up. Follow the instructions that follow carefully.
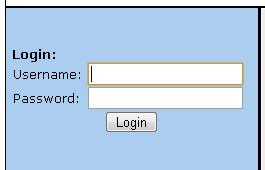
Once you have created a account. Login with the username and password you specified while signing up at http://everydns.net
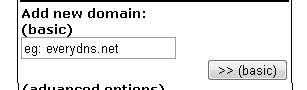
On your dashboard, you'll see something similar. Replace eg.: everydns.net with your .co.cc domain, eg. mydomain.co.cc or in our case hipatic.co.cc
And Click on Basic
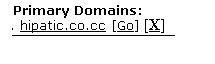
On the next page, you'll see your domain name mydomain.co.cc.
Click on the domain name.
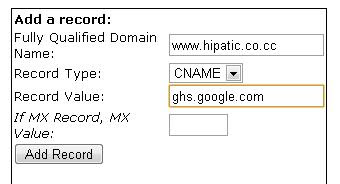
You'll be brought to a page with a CNAME entry and a A entry.with the adjacent form below it.
Fill up the form replacing www.hipatic.co.cc with www.mydomain.co.cc
Press Add Record
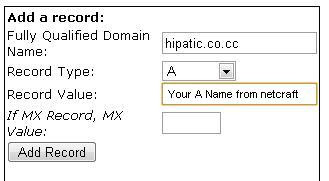
On the next page, replace hipatic.co.cc in the image alongside with mydomain.co.cc
Note that we are not using the www prefix this time.
Type in the A name you got from netcraft in Step 3 in the record value
This part is done!
Comments
Post a Comment